Drawings of a Christmas Tree With a Star on Top
Make a 3D star out of paper with these step-by-step instructions. Perfect for Christmas, kids' crafts, or 4th of July, this project takes less than 15 minutes and includes two different five pointed star templates in a variety of sizes.

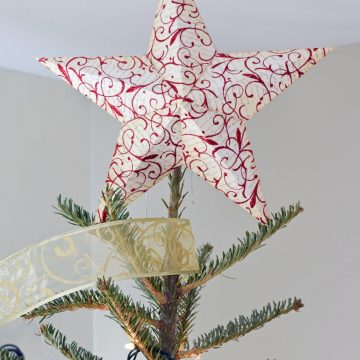
Finding a perfect tree topper can be a challenge, and a few years ago I was at a complete loss as to what to put atop my Christmas tree. I liked the idea of a classic star but I could find nothing that worked for me. So I made my own three-dimensional star to adorn the top of my tree. Today I would like to show a little tutorial about how to make your own 3-D star. You can top your Christmas tree or even hang them to use as a decoration.
Supply List
- Heavy Weight Cardstock or other Heavy Paper that can be folded
- Template (links below)
- Scissors
- String or raffia for hanging
- Tissue Paper
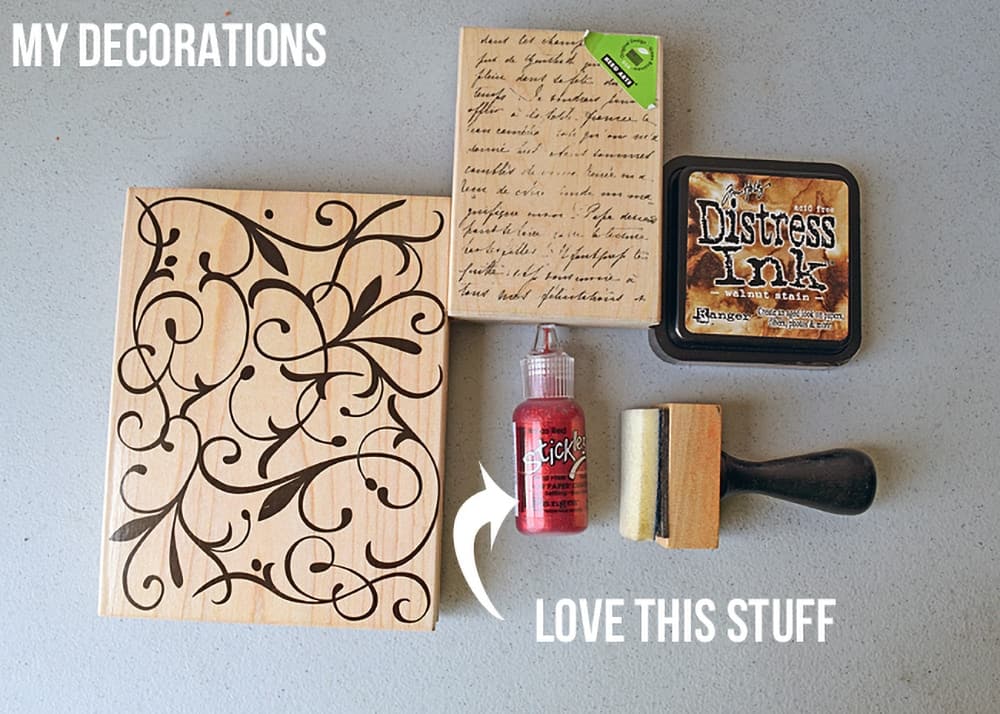
- Decorating Materials – spray paint, mod podge, stamps, glitter, scrapbook paper, etc
- Hole Puncher (this one is my favorite and doesn't hurt your hands)
- Paper Protector optional – I use this to avoid finger smudges while working with layers and inks.
- Dry Adhesive – Glue strips or Glue dots (don't use wet glue!)
Free 3D Paper Star Templates
There are two templates you can use depending on your preference.

Click on the links below to go to the free files that you can download to make your own 3d star ornaments and projects.
- Individual Arm Template Large and Small (PDF)
- Individual Arm Template Large and Small (JPEG for easier resizing)
- Double Sided Folded star – Large, Medium, and Small (PDF)
Notes:
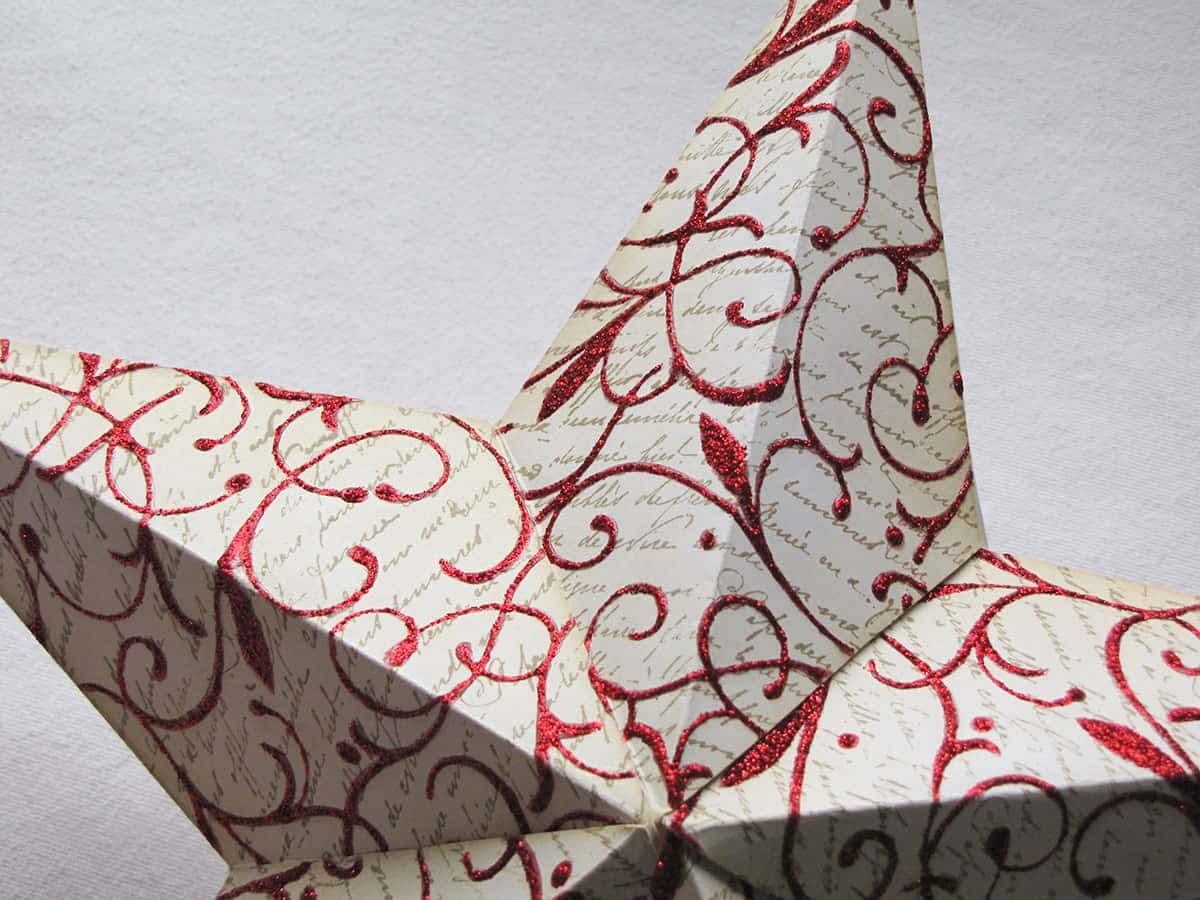
- The individual Arm 3-D Star Template is what I used for my star as you can see each arm is stamped and the pattern does not extend to other arms.
- The Full Front 3-D star Template is easier to work with but you only have the option of decorating the whole side at one time.
How to make a 3D Star out of paper
At the bottom of this post, there are printable step-by-step instructions. I include this area in the post for additional notes, tips, as well as variations.
Step 1 – Cut out the templates and trace lightly with a pencil over heavy weight paper. You will need two full front patterns or 5 individual arms.
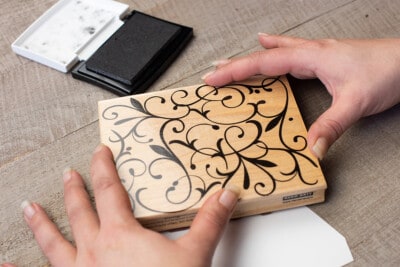
Step 2 – Decorate template. Paint has the possibility of cracking so I suggest you fold before spray painting or adding dimensional elements.
To create a Christmas tree star topper, I layered two stamps as shown above: a script stamp and a flourish stamp like this I stamped the images and then rubbed a bit of the same ink around the edges to create a distressed look. After stamping the flourish, I covered the entire flourish pattern in this dimensional glitter glue. The stickles brand is wonderful to work with because it has a very fine tip.
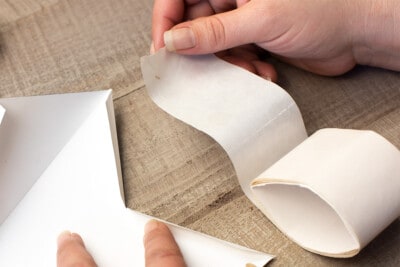
Step 3 – Fold both the center lines and tabs as directed. For straight folds, gently score the fold lines by using a ruler and a craft knife. Burnish the edges (run your fingernail across them) to create crisp lines.
*If you want to hang your star, punch a hole as directed below under "How to Hang a Star".
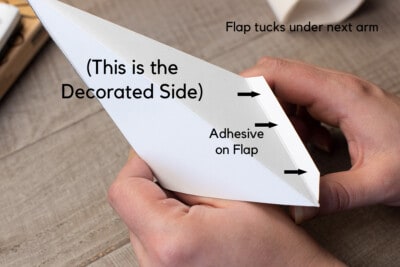
Step 4 – Add adhesive to all tabs. Because this is paper, you don't want to use wet glue or the paper may stretch and buckle. Use either glue dots like these or permanent double sided tape. Press well.
If using the individual arm template, shape the arm and stick the tabs to the appropriate side firmly so that each individual arm is shaped before assembling the full star.

Step 5 – Attach tabs to other pieces. Stuff the arms with tissue paper to increase strength.
Step 7 – Spray with a paper stiffener or aerosol starch if desired. Make sure it will work with the type of decoration you used.
How To Hang the 3D Star Ornament
As a regular ornament:
Before adding any adhesive to either template, punch a hole in the top tip and thread ribbon through. Another idea is to tape the thread inside the top arm and fold around it so that it comes through the tip opening at the very top.
As a tree topper:
To attach the star from the center back, punch two holes in the back. Thread stiff ribbon or string through the holes and tie to the top of the tree. Another popular idea is to insert a small rod from the bottom (inside corner of arms) to the top tip and clip the rod to the treetop with a few strong clips like this similar to a hair clip.
Check out a few more easy DIY Christmas craft ideas here
- Handmade Ornament Ideas
- Create a Christmas DIY Advent Calendar
- Merry and Bright Sign from Scrap Pallet Wood
- DIY Stenciled Tea Towels
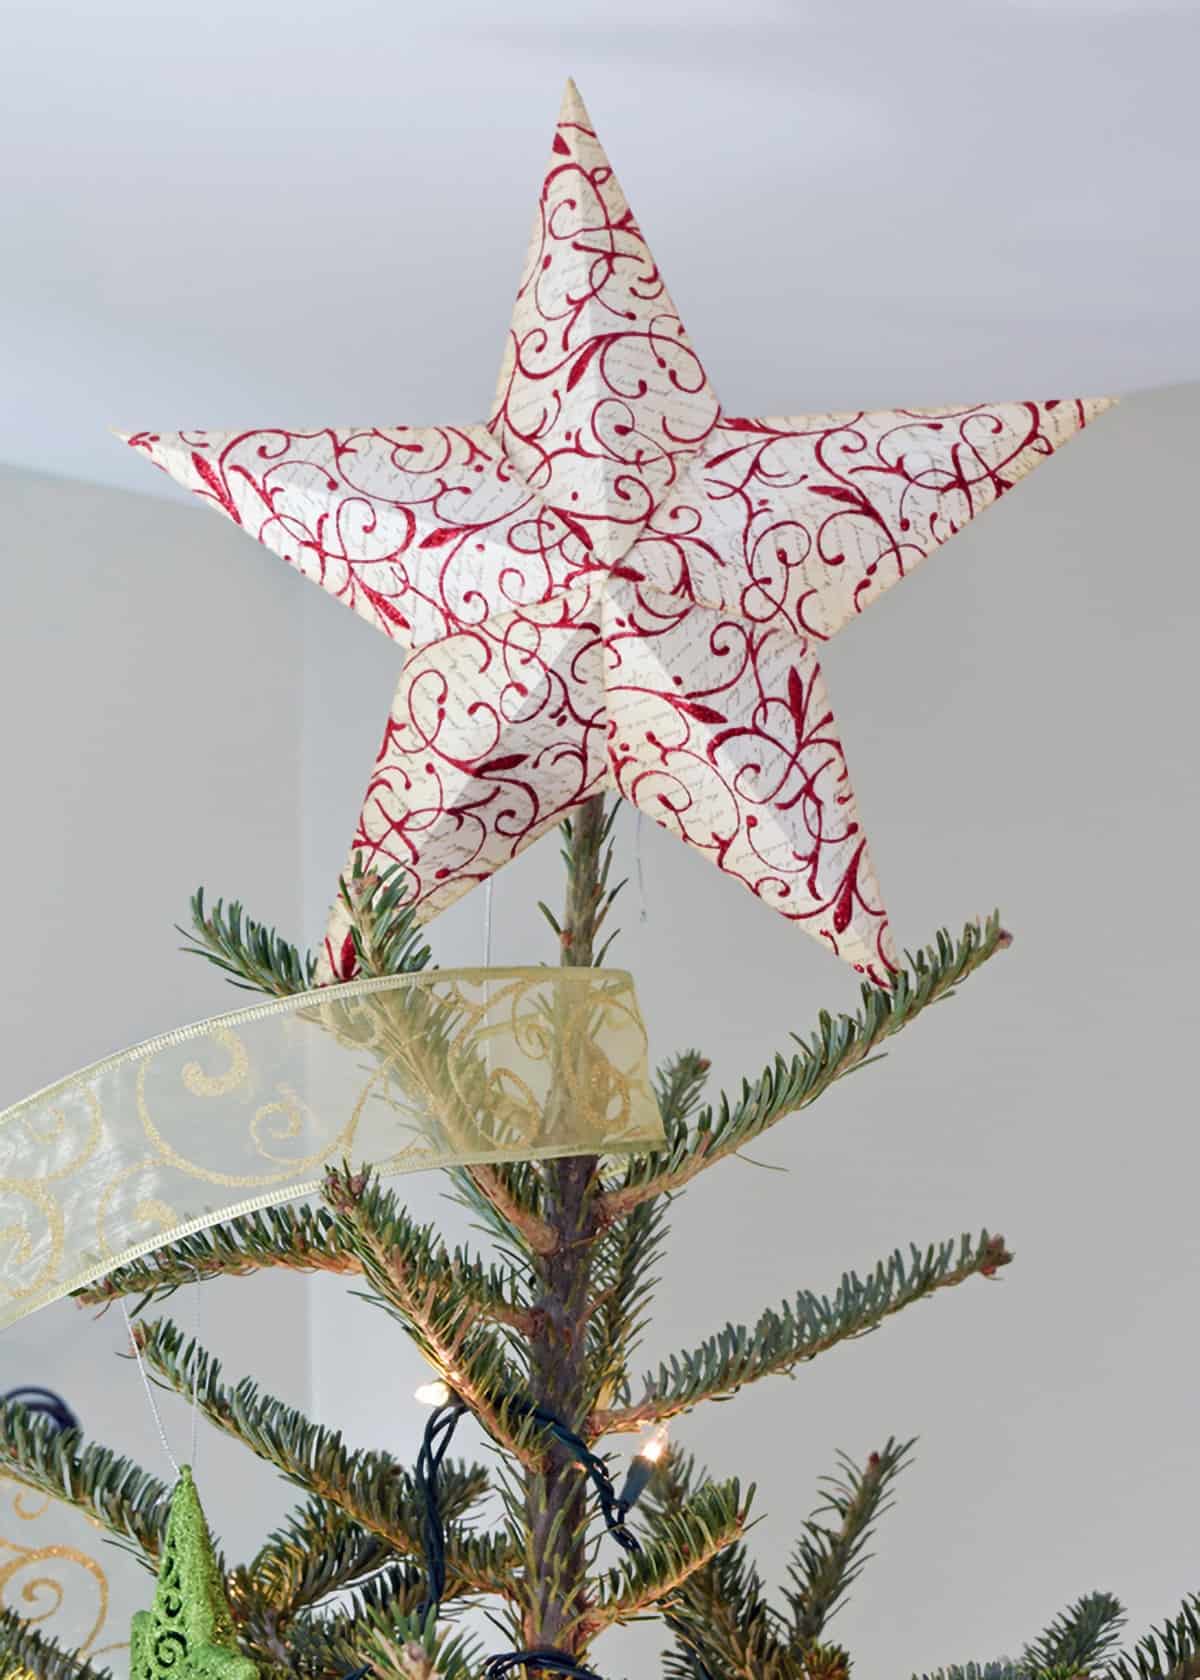
This completed 3D star looks radiant upon a tree or a series makes a beautiful garland.
Happy Holidays!!!

Sign up below to receive updates including free printables, organization tips, home improvement projects, recipes and more!
More Christmas Crafts and Projects
-

Printable Holiday Gift Tags -
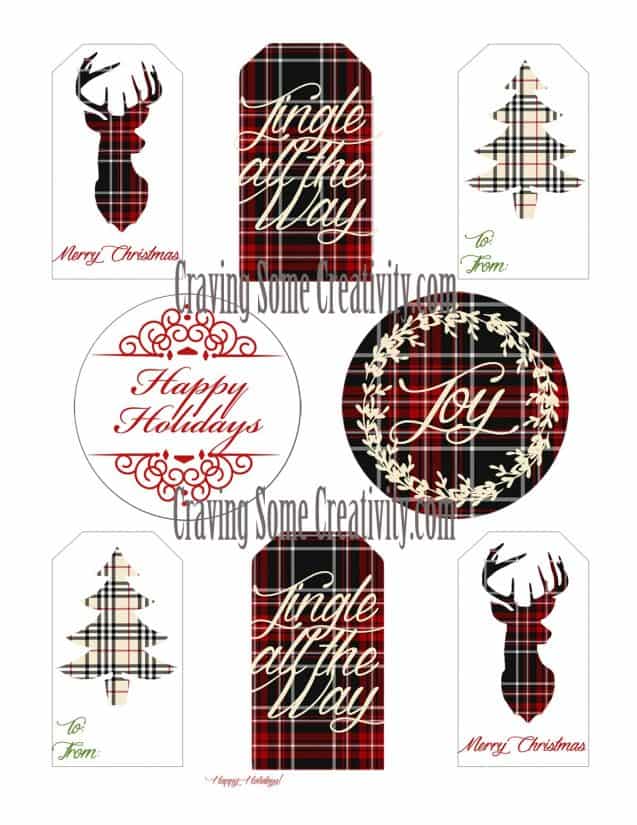
Free Printable Plaid Tags -

Merry and Bright Christmas Sign -

Cheap Christmas Decorations
PS I love seeing your creations! Be sure to take a photo and tag#cravingcreative on Instagram! You can alsostay in touch with me through following me on Instagram, Pinterest, and Subscribing to the Newsletter!
-
Pencil
-
Scissors
-
Ruler
- Heavy Cardstock
- Decorating Materials Stamps, paint, glitter, etc.
- Dry Adhesive Double sided tape or glue dots
- Tissue Paper for added rigidity
- Paper Stiffener optional
-
Cut out the templates. For a double-sided full front star, you will need two templates, and for a single arm star, you will need 5 arms. To preserve paper, you can trace lightly with a pencil over heavy weight paper.

-
Decorate template. Paint has the possibility of cracking, so I suggest folding before spray painting or adding dimensional elements.
-
Fold both the center lines and tabs as directed. To get straight folds, gently score the lines using a craft knife and a ruler.

-
Add adhesive to all tabs. If using the individual arm template, shape the arm and stick the tabs to the appropriate side firmly so that each individual arm is shaped before assembling the full star.
-
Attach tabs to other pieces. Stuff the arms with tissue paper to increase strength.
-
Spray with a paper stiffener or aerosol starch, if desired.

Source: https://www.cravingsomecreativity.com/star-tree-topper-template/
0 Response to "Drawings of a Christmas Tree With a Star on Top"
Post a Comment